Bike Fitting for Mountain Bikes
Fitting considerations for for aggressive descending vs. for cross-country riding
Dear Lennard,
I just did my first mountain bike upgrade in decades and have no idea how to fit it. I am going from an old Gary Fisher Supercaliber hardtail that I got 30 years ago to an Ibis Ripmo full-suspension bike. I have mostly been a roadie, although I did ride that Gary Fisher a lot in the ’90s.
Thing is, my son loves going to Winter Park, taking the chairlift up with his bike, and riding its bike park trails down the mountain. He really wants me to join him, and I wouldn’t want to miss any opportunity to do something with him when he’s inviting me, but I also don’t want to get injured. I know that my hardtail would not be the right tool for those kinds of trails, so I bought the Ibis on his recommendation. I want to save my body as well as not make my son do too much waiting for me trying to avoid crashing a bike that can’t absorb those big bumps.
So, how do I fit this thing? I set my Gary Fisher up pretty much like my road bike with the same seat height and the best approximation of the same reach to the bars. I don’t think I could even achieve that setup with the Ibis if I tried. It has a stubby stem and super wide handlebars, and I am not about to commit a huge faux pas in the eyes of my son and his friends by changing them out. How do people fit bikes for this kind of riding anyway?
Frank
Dear Frank,
What a great question! Yes, there is a big difference between setting up a mountain bike for cross-country riding like your hardtail was made for to the kind of riding you’re about to embark on. Good for you for getting the right tool for it, too!
Here’s Paola Pezzo winning the 1996 Olympic cross-country race in Atlanta on a Gary Fisher Supercaliber like yours. Her position on the bike, while I could nitpick about some details, is essentially a road position—or gravel or cyclocross. That kind of position will not do you much good ripping down the trails at Winter Park, however.
Bike positioning for road, gravel, cyclocross, and MTB cross-country is primarily concerned with four details: saddle height, saddle setback, saddle-to-bar reach, and saddle-to-bar drop. Almost daily, I fit people on road and gravel bikes optimizing those four parameters.
Road frames are sized for the location of the top of head tube relative to the bottom bracket; this determines a possible range of locations of the handlebar relative to the bottom bracket on the complete bike. This was more easily measured on lugged frames with level top tubes, since the length and angle of the seat tube and length of the top tube determined whether the saddle and handlebar could be in the right positions relative to each other on the complete bike. Nowadays, frames have sloping top tubes and are sized using stack and reach, which I explain here, since this is more useful than the length of an imaginary horizontal top tube meeting a seat tube with an imaginary length longer than actual.
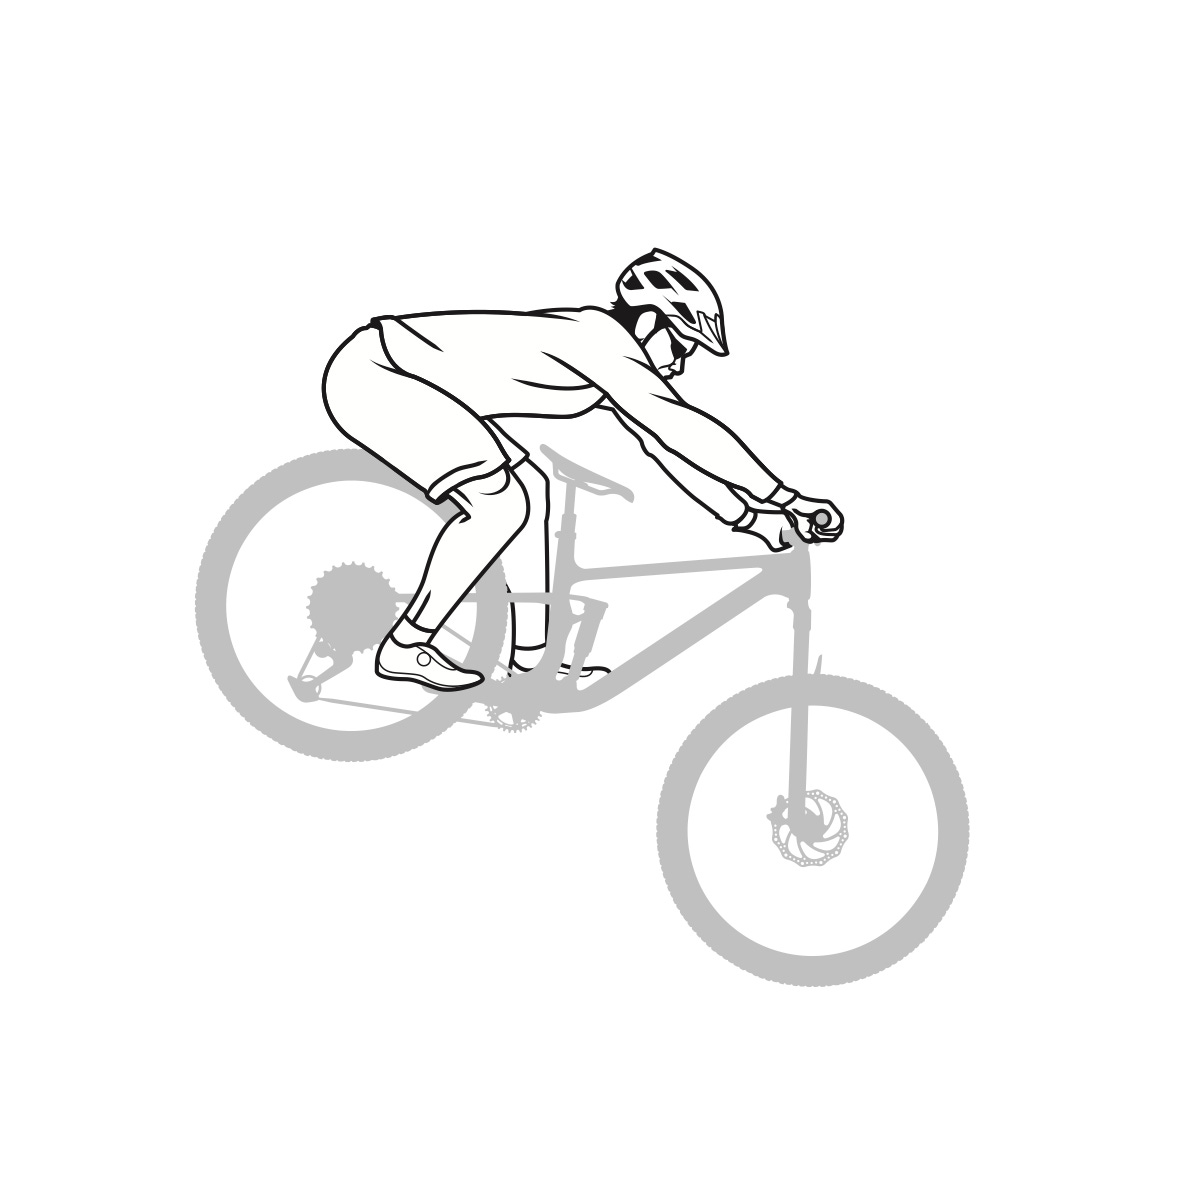
However, you won’t be sitting on the saddle when you’re descending those Winter Park trails, so you want to optimize a dynamic standing position, not a sitting one. That Ripmo you bought is meant for ripping, and rather than being interested in the magnitude of its handlebar stack (Y) and handlebar reach (X) like on a road, gravel, or cross-country bike, you are instead interested in the hypotenuse of the triangle whose legs are those two dimensions. We call this hypotenuse the “R.A.D.” and try to ensure that a critical dimension of the rider’s body matches it in length.
Keep reading with a 7-day free trial
Subscribe to Technical Q&A with Lennard Zinn to keep reading this post and get 7 days of free access to the full post archives.


